Routes
The Basics
Here are all the fields included in a route
- Status
- Vendor Location
- Submitted By
- Requested Start Time
- Number of Stops
- Total Stops Cost
- Number of Miles
- Per Mile Cost
- Total Miles Cost
- Number of Minutes
- Per Minute Cost
- Total Minutes Cost
- Total
- Driver
- Stops
A Route is a collection of pick-ups and drop-offs. They provides a way to group a collection of orders together. These can then be assigned to drivers, and billed independently to distros.
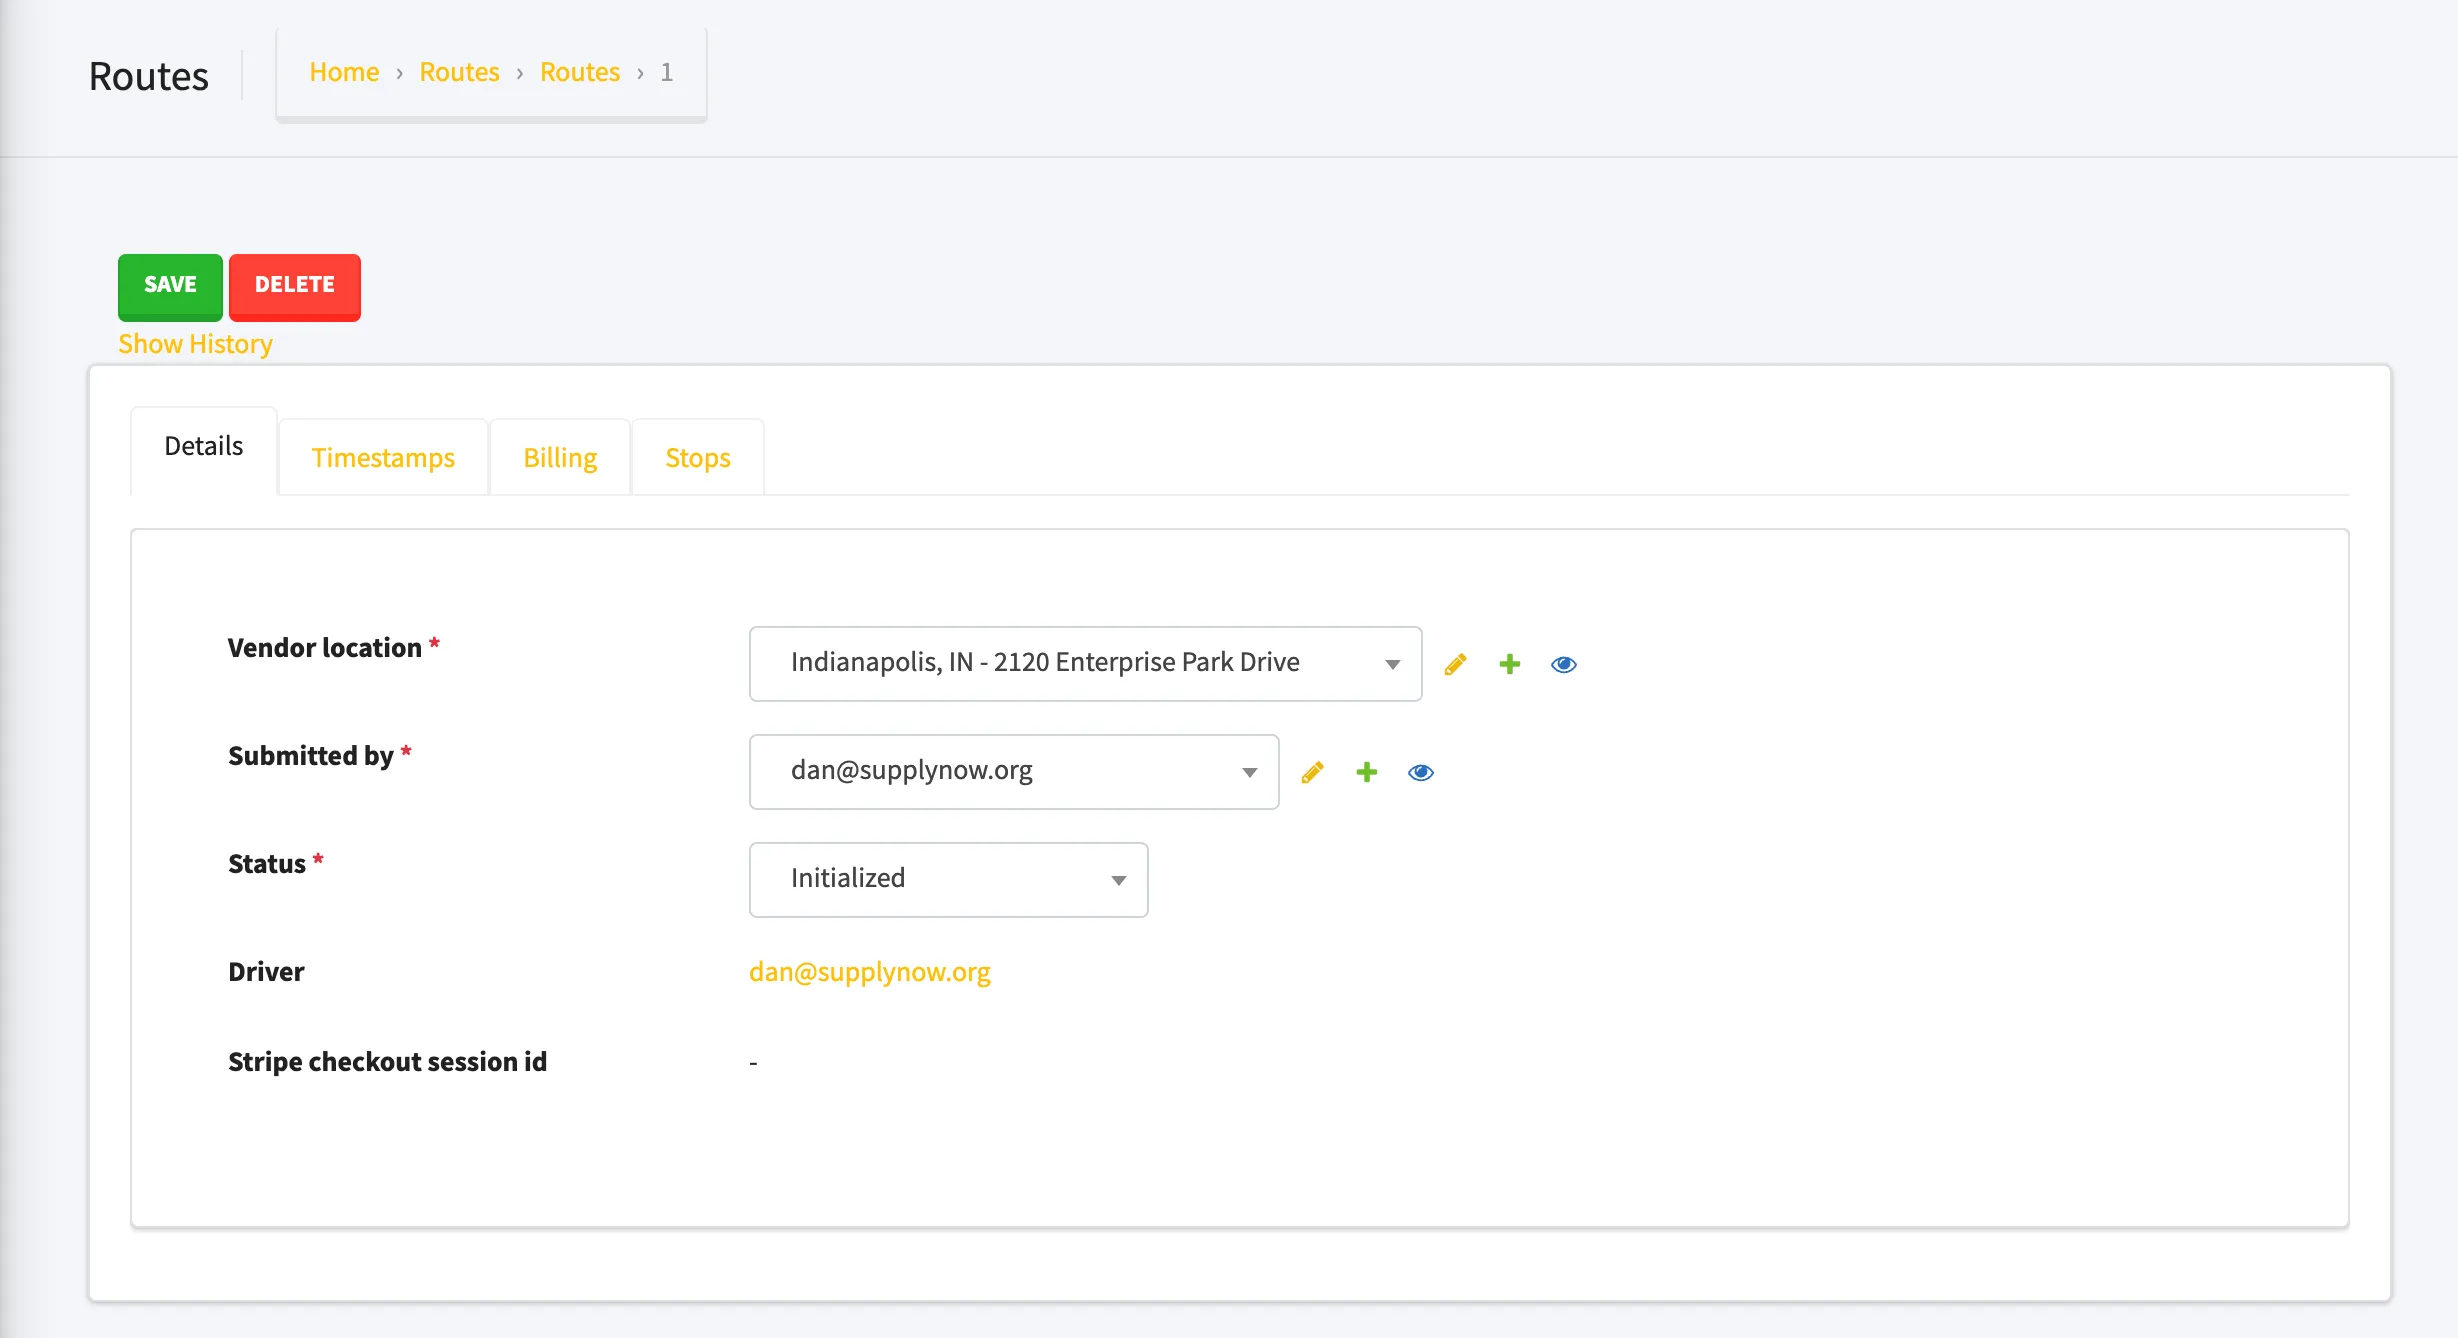
Routes in Admin
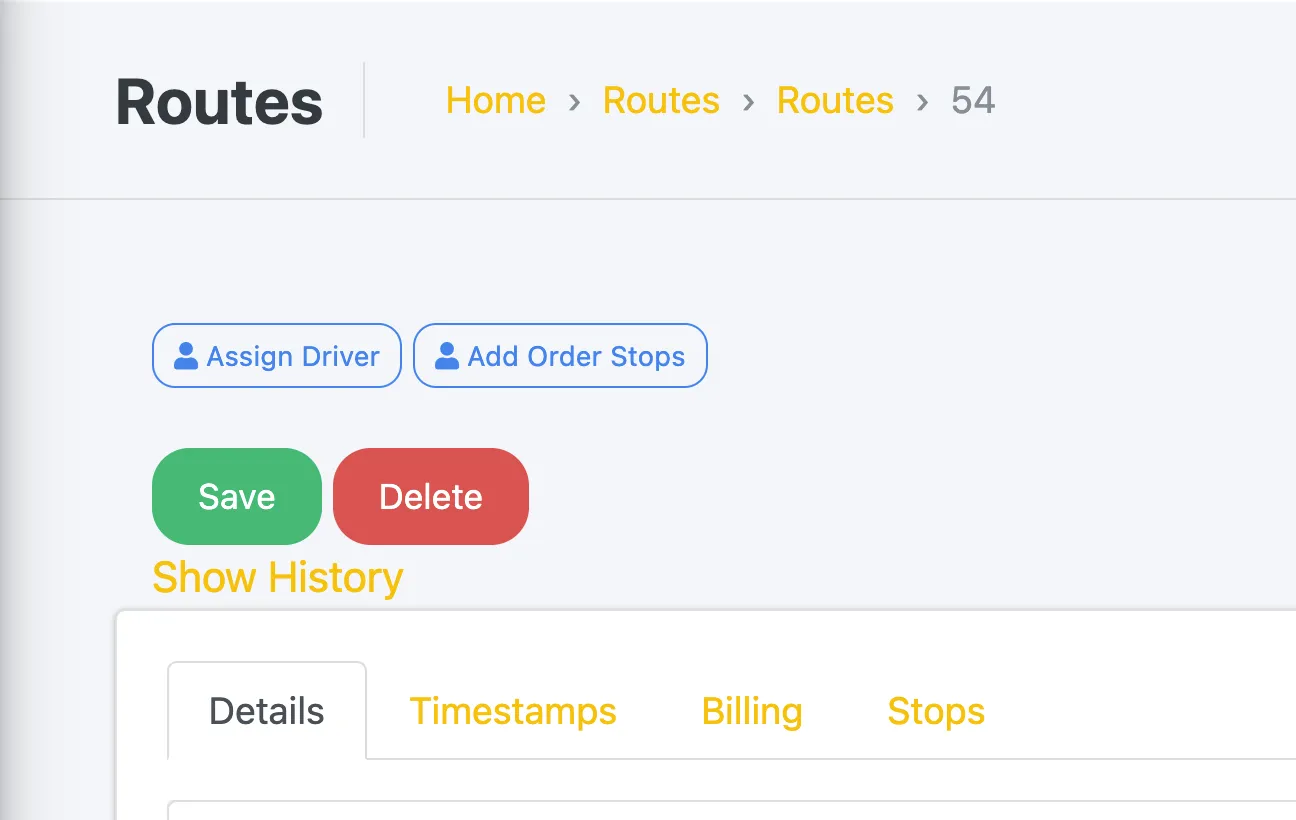
This is what they look like in the admin panel:
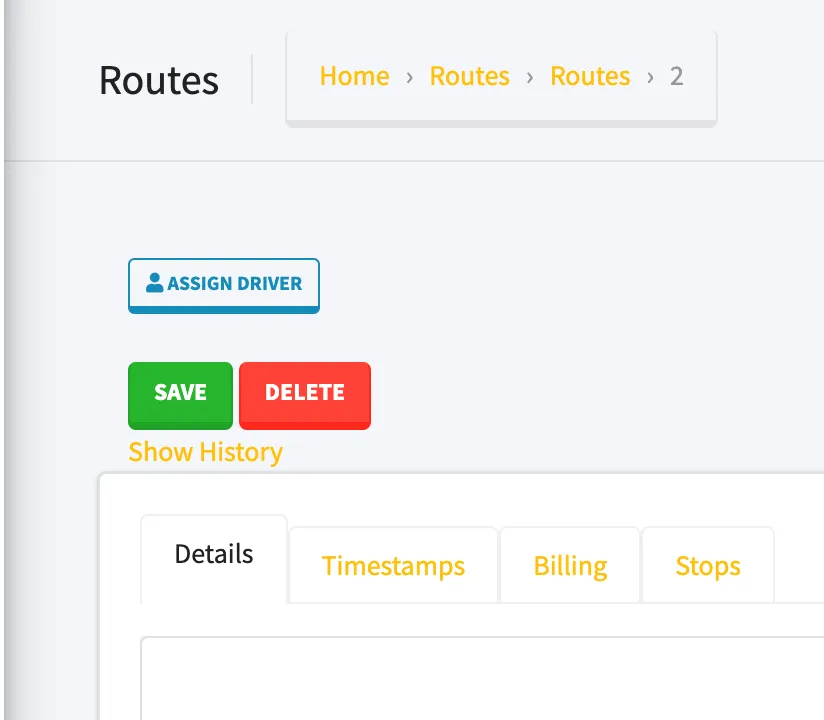
Assigning Drivers
This works exactly like the Orders admin. This button will only appear if the user has paid for the route in advance.
Stops
These are the pickups and dropoffs that make up a route. You won’t need to do much other than entering an address to create one.
To create a stop, you must first create a route or select an existing route.
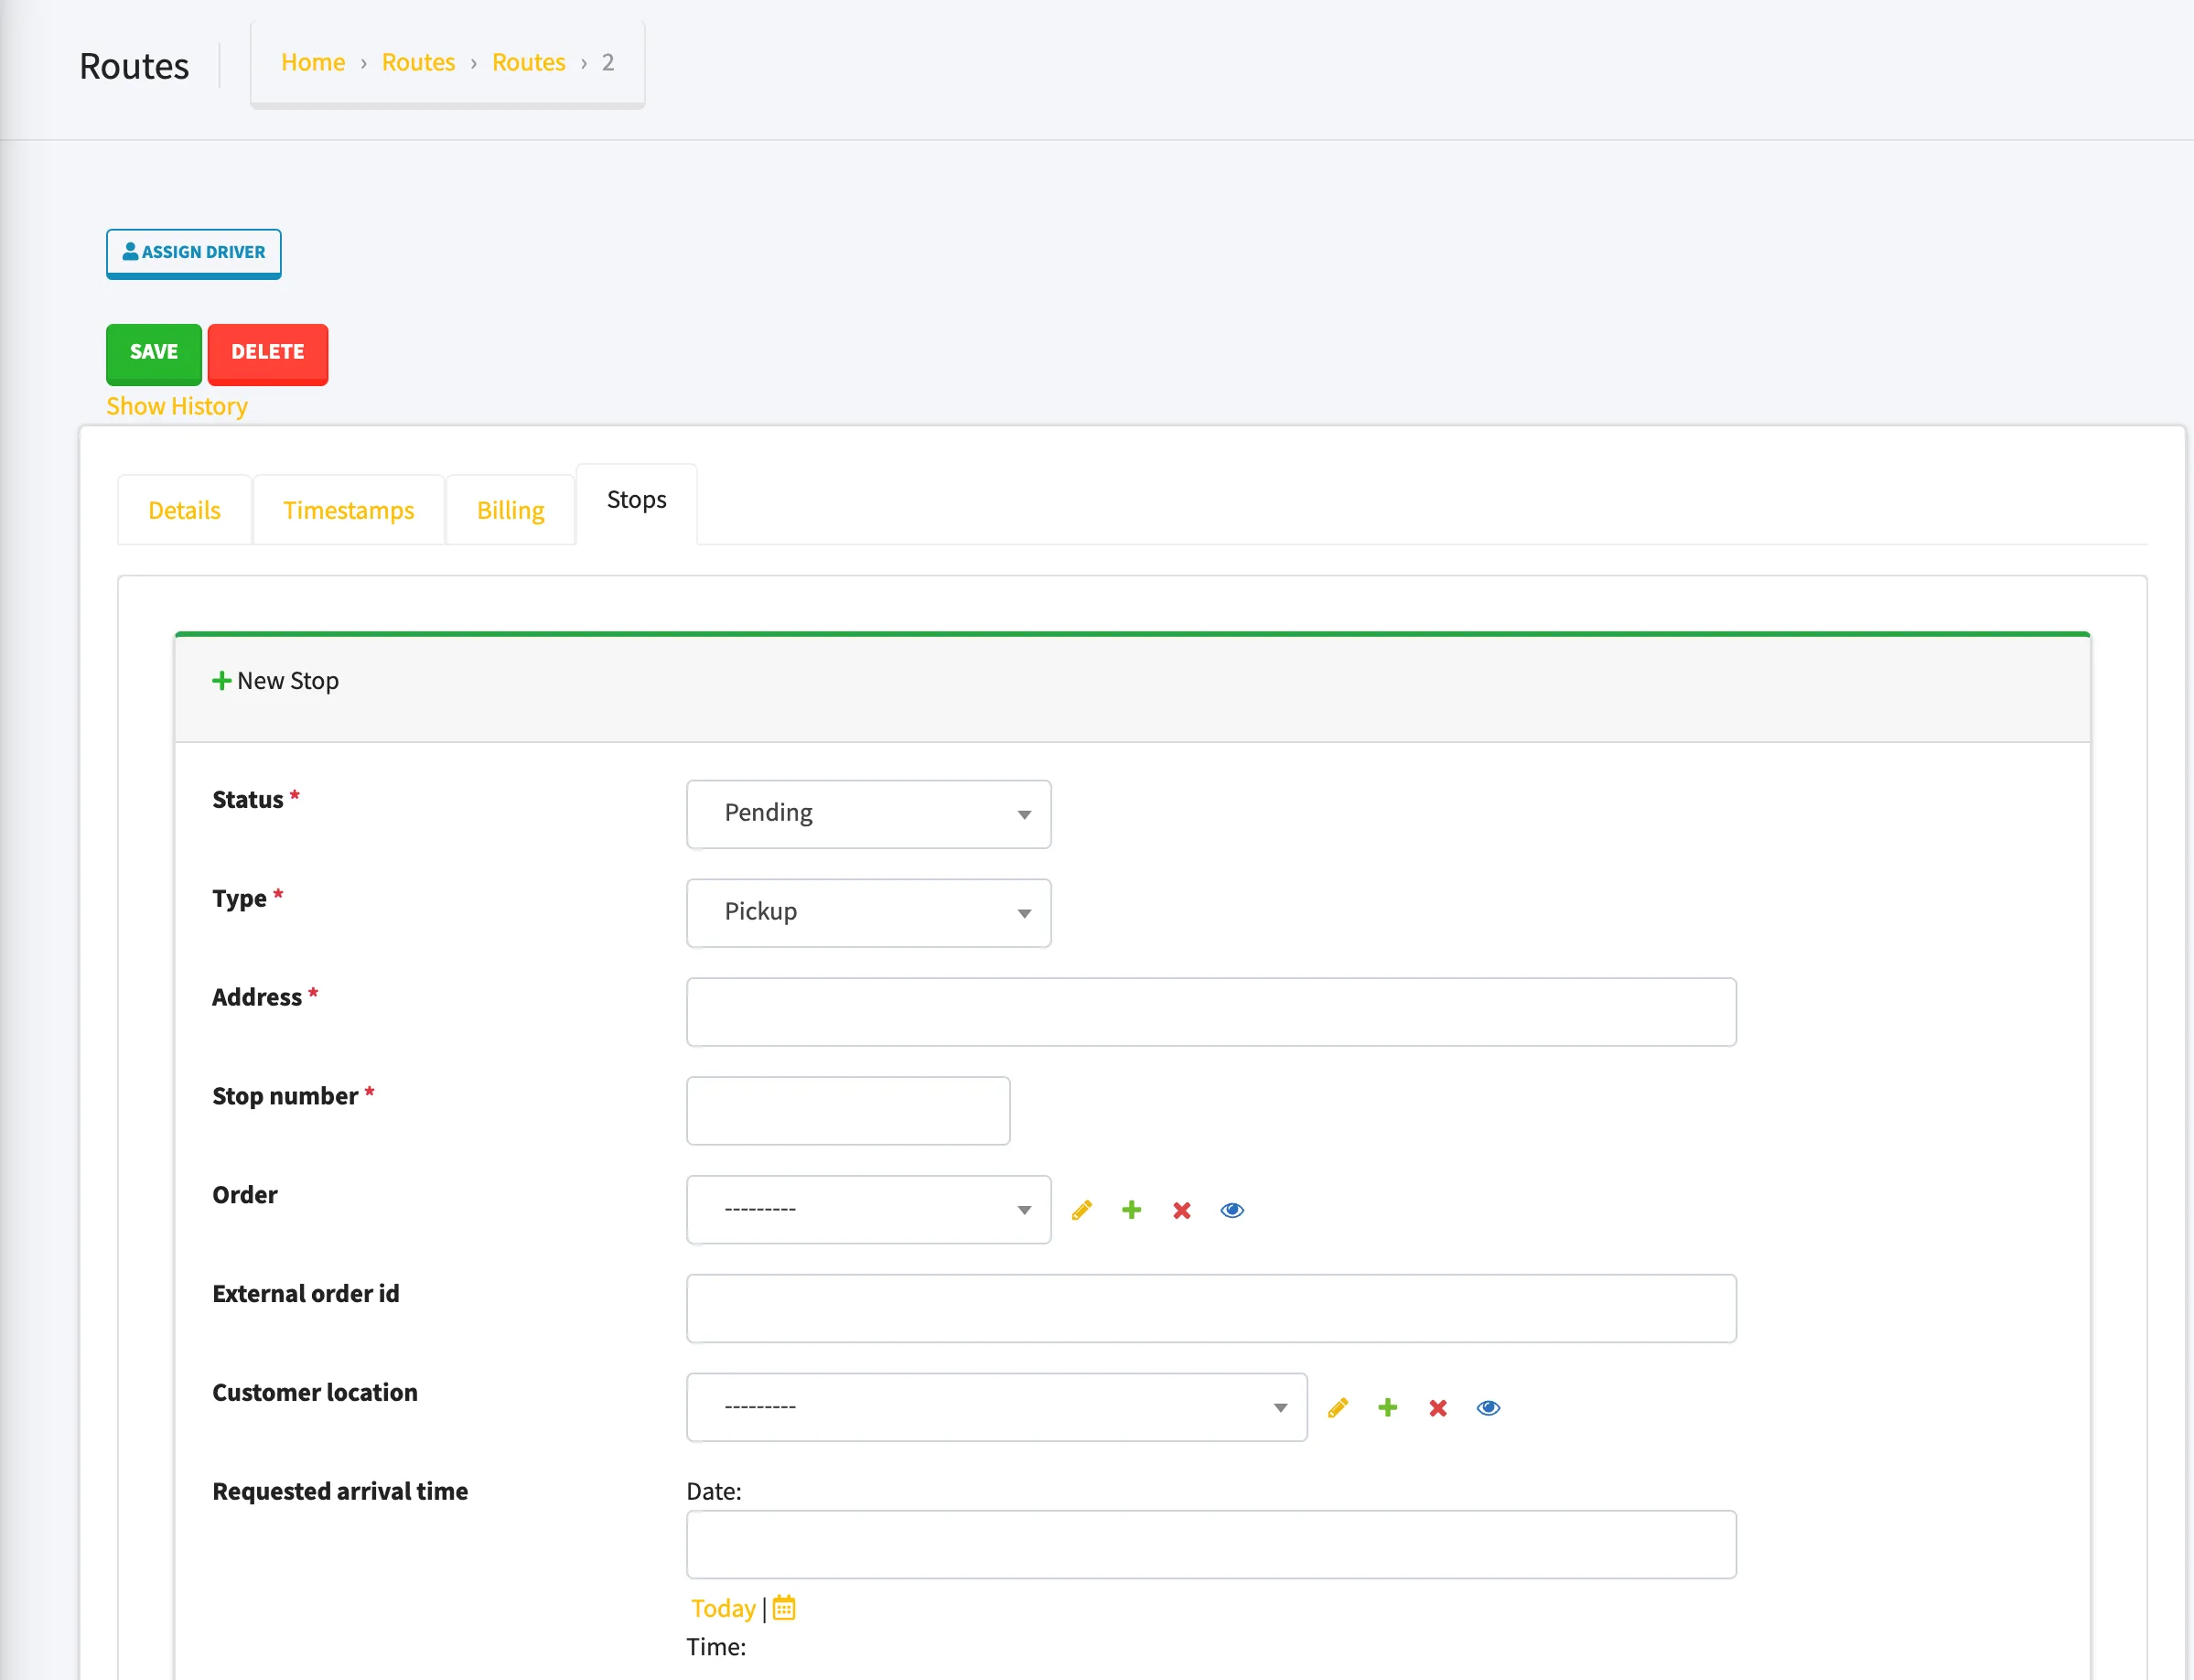
Creating Stops
Manual Process
You can manually create an order by entering the “address” and “stop number” in the stop form. In the background, we use google maps to get the coordinates for the address.
We also automatically recalculate the metrics for the route (total number of miles and minutes).
Creating Stops from Orders
The more likely scenario is that you’ll have a set of orders you’d like to group into a route.
All you’ve got to do is press the “Add Order Stops” button
Select the order you’ve got in mind
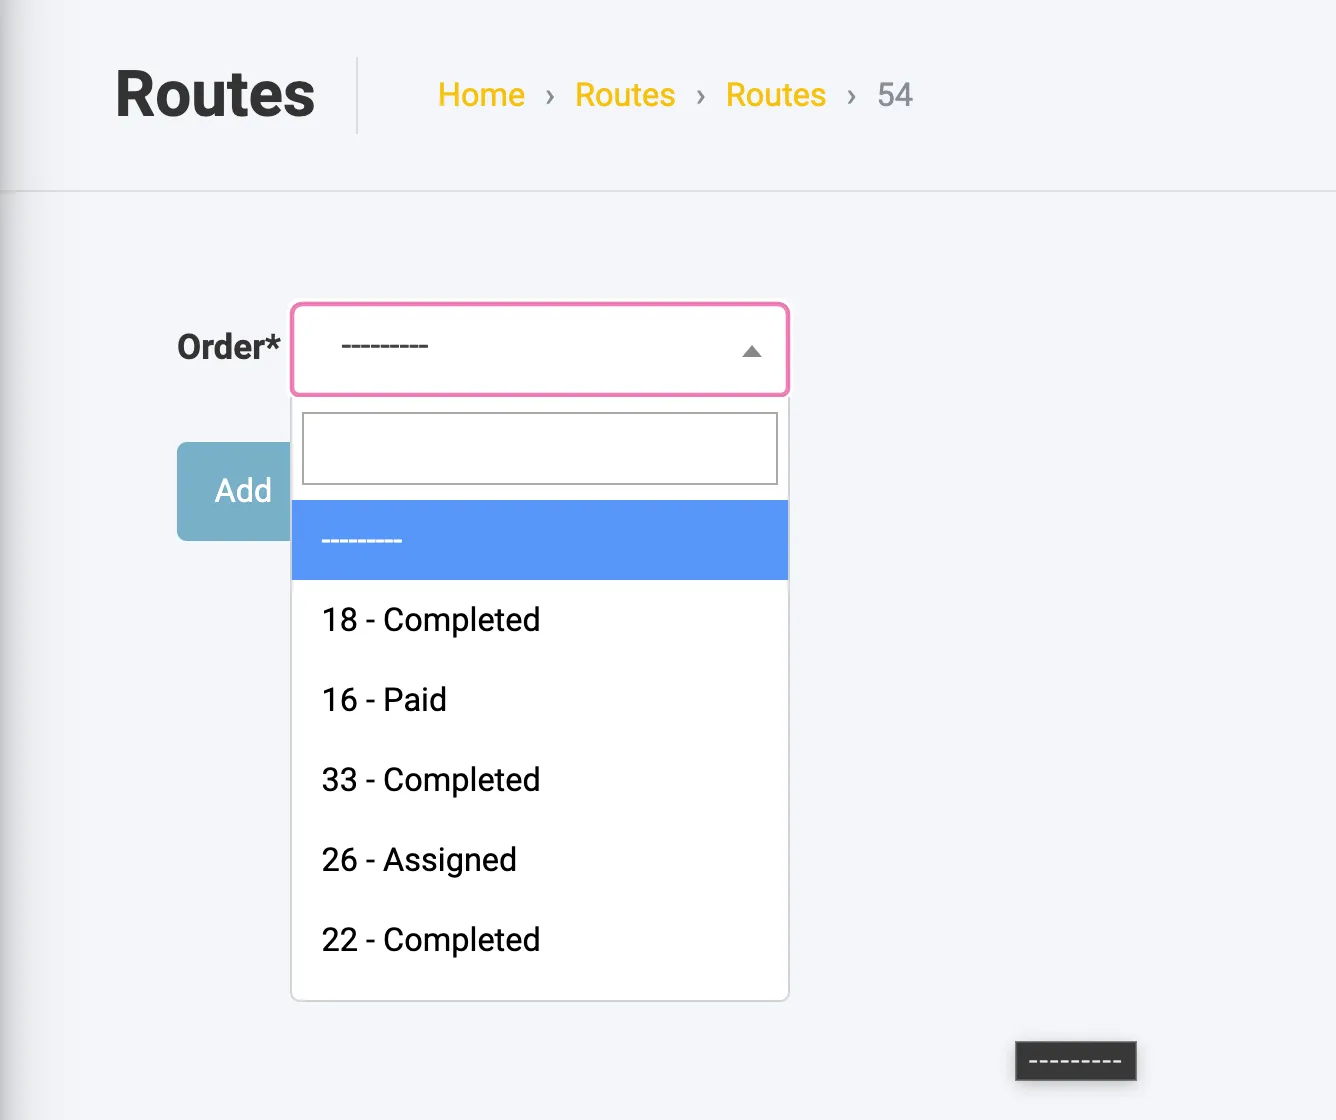
Submit! That’s all. This will create a pickup for each vendor location in the Order’s items, and a drop-off at the customer location.
Stops through a Driver’s eye
To understand Routes and Stops it’s useful to know what drivers need to do on their end. Each time they complete a Stop or submit and image, notifications are sent out and timestamps recorded.
You can learn more at Multi-Stop Routes
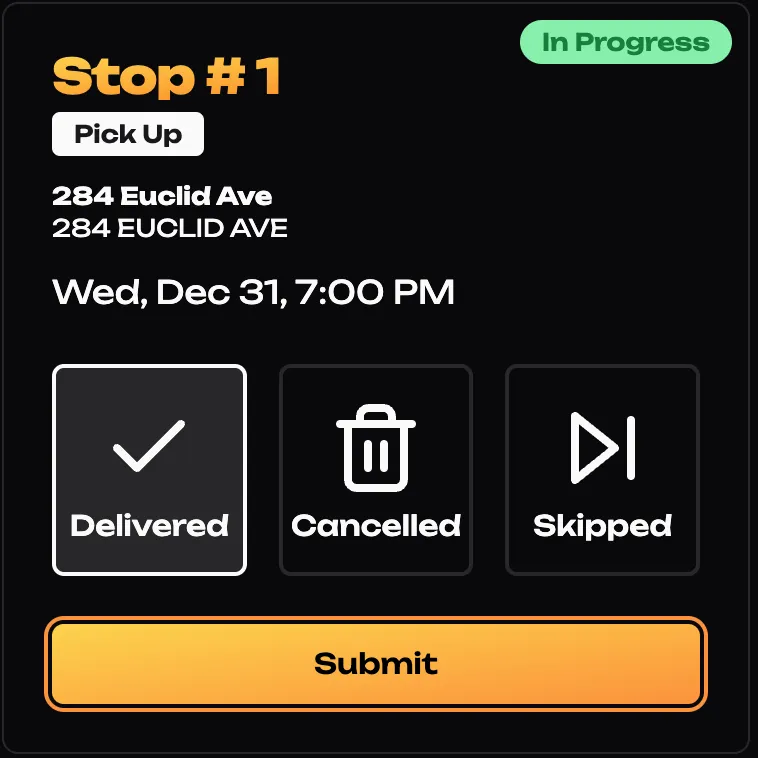
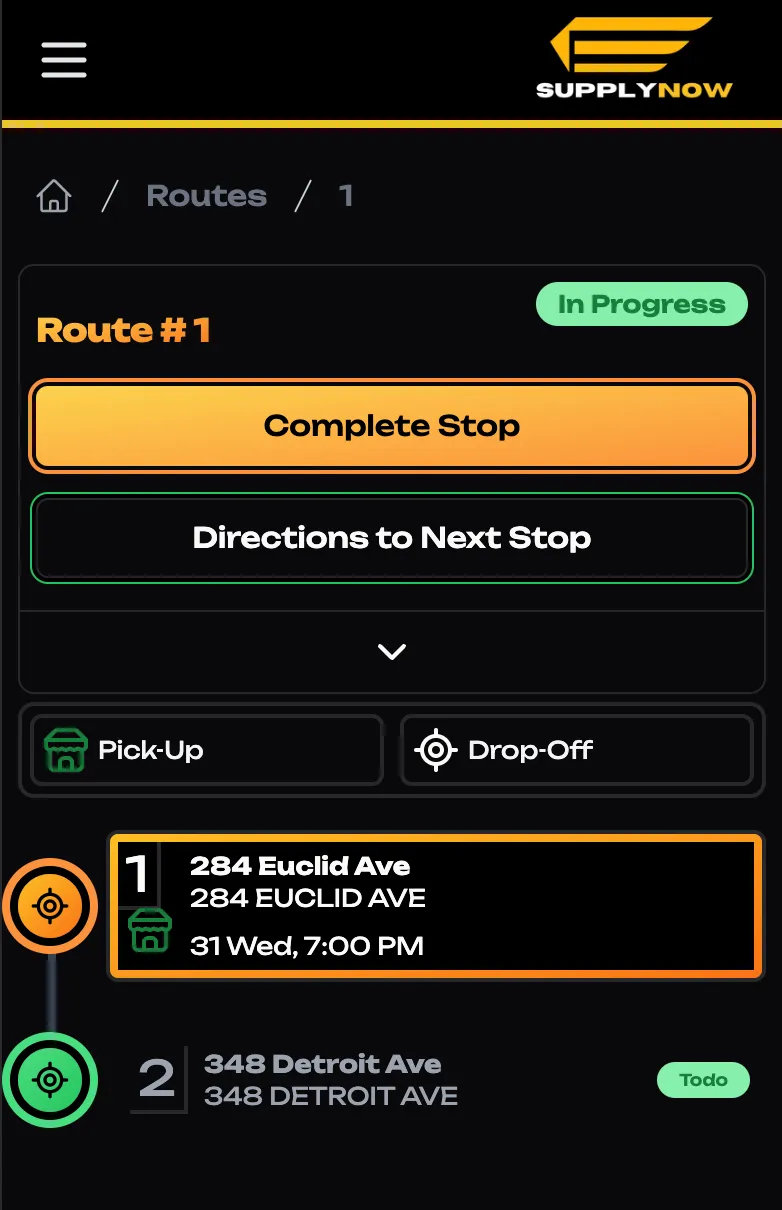
Completing a Stop
Once you’ve dropped off at the active stop, you can press “Complete Stop”
Proof of Delivery
The most important thing to take care here is to submit an image proving that you have delivered the goods.
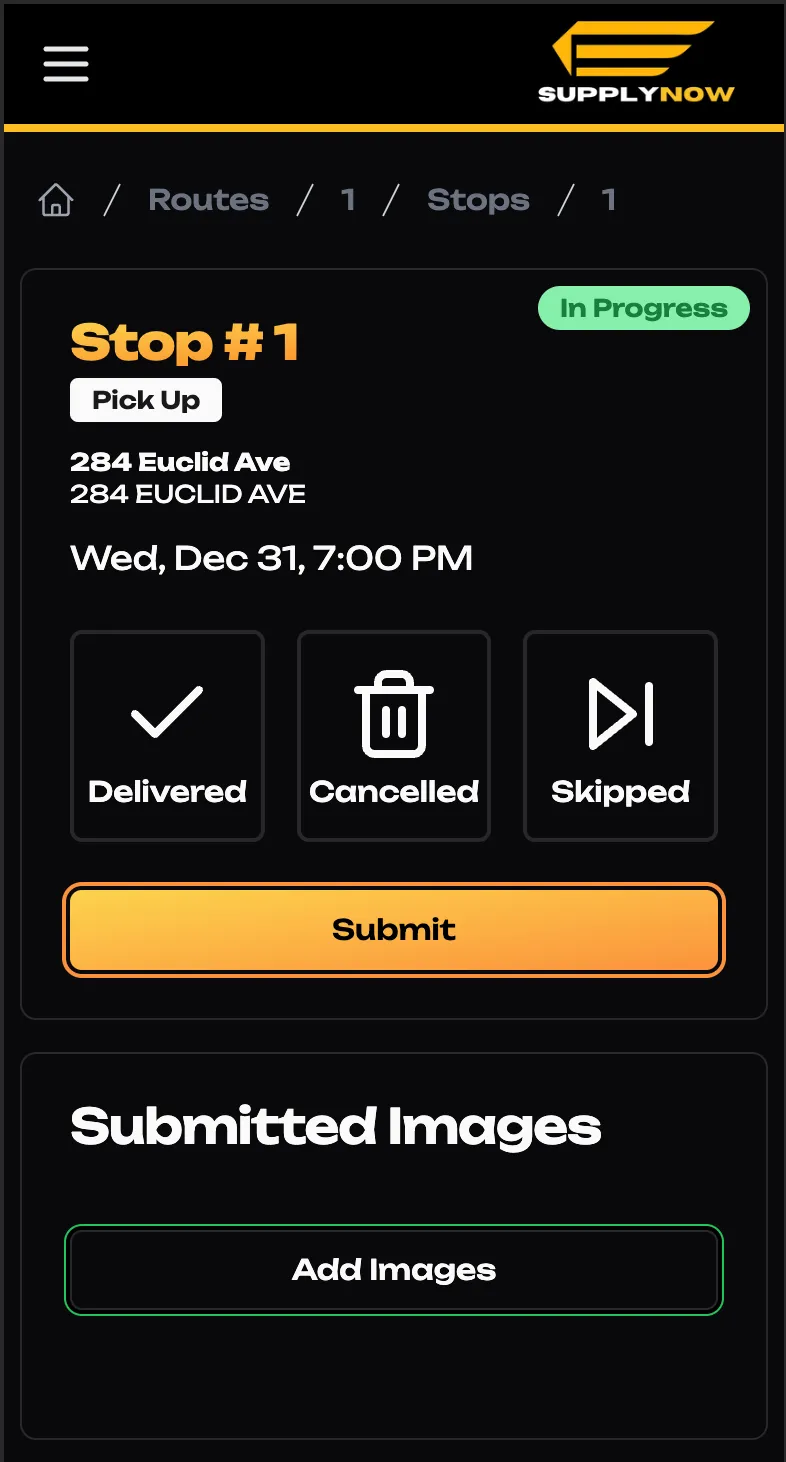
Upload Image
Follow the prompts to submit an image. Once uploaded, you’ll be able to see the picture on the bottom of the page.
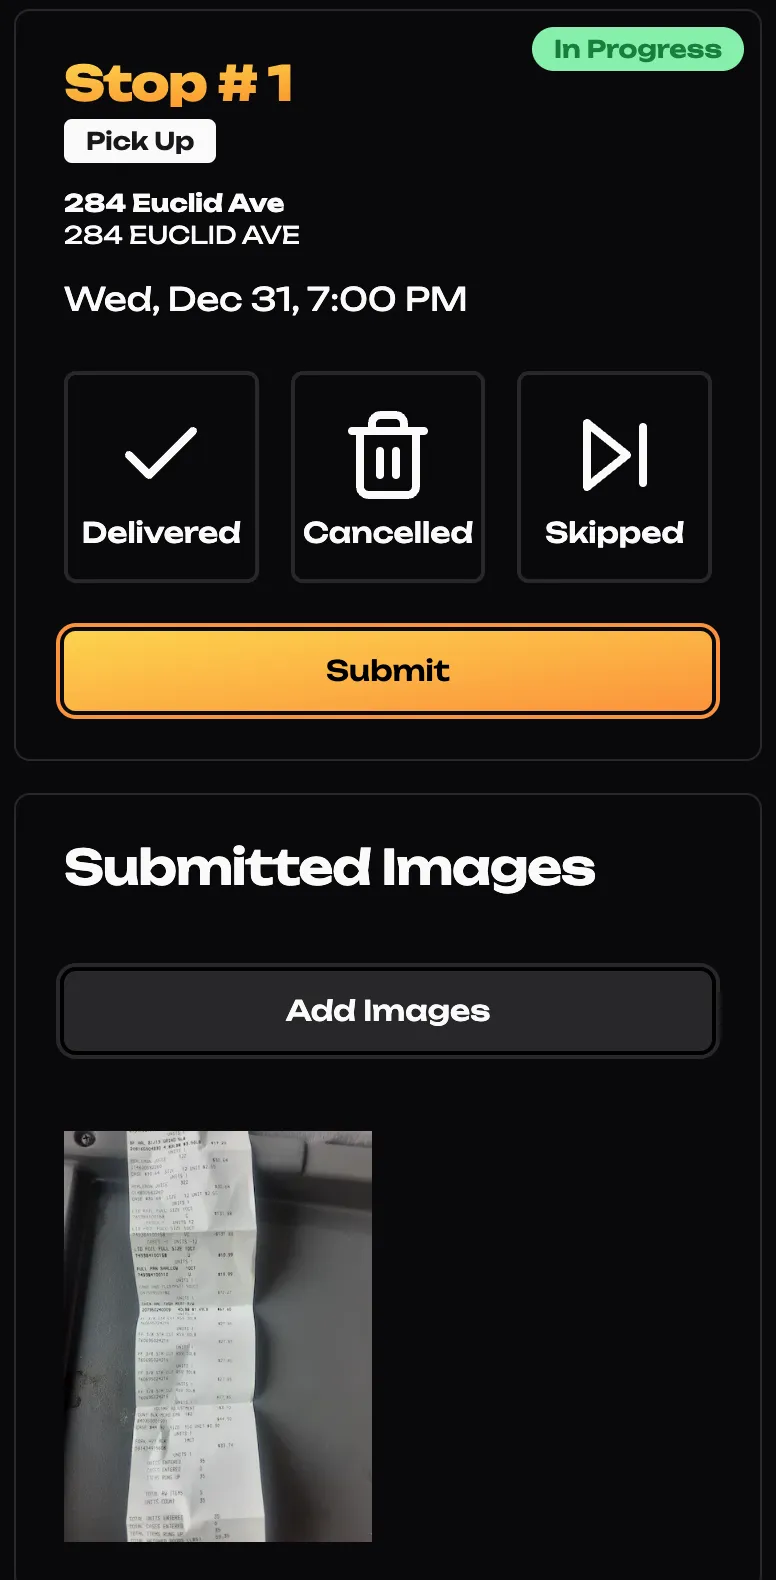
Complete the Stop
Select the status of the stop, and “Submit”.